

01
Set up Lens Simulator
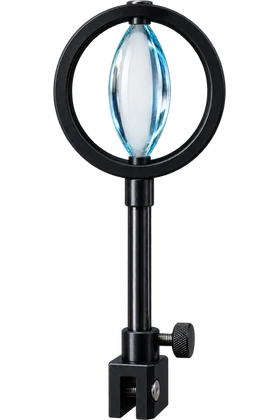
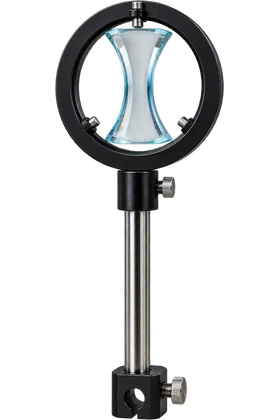
Choose convex or concave lens mode, then enter focal length, object distance, and object height.
- Start with a convex lens and an object beyond the focal length
- Switch to concave lens mode to see a virtual upright image
Free Lens Simulator
Lens Simulator turns thin-lens image formation into a live browser lab: choose a convex or concave lens, set focal length, object distance, and object height, then watch the ray diagram and calculations update instantly.
Built for ray diagrams, thin lens equation practice, image distance, magnification, upright or inverted images, and real or virtual image checks.
Start Lens Simulator here: enter lens type, focal length, object distance, and object height to calculate image distance, magnification, image height, orientation, and real or virtual image type.
Choose a lens, move the object, and adjust focal length or height to update the ray diagram in real time.
Share the clean page or copy a result link that restores this Lens Simulator setup.
Ray diagram lab

Thin-lens equation
Signed focal length
15.0 cm
Image distance
26.3 cm
Magnification
-0.75
Image height
-3.0 cm
Lens Simulator conclusion
Move the object across the focal point or switch to a concave lens to compare real, virtual, upright, inverted, enlarged, and reduced images.
Lens Simulator uses the thin-lens equation with the common sign convention: converging lenses have positive focal length, diverging lenses have negative focal length, real images have positive image distance, and virtual images have negative image distance.
Lens Simulator connects lens type, focal length, object distance, object height, image distance, magnification, image size, and image orientation in one visual workflow.
Choose convex or concave lens mode, then change focal length, object distance, and object height while Lens Simulator redraws the principal rays.
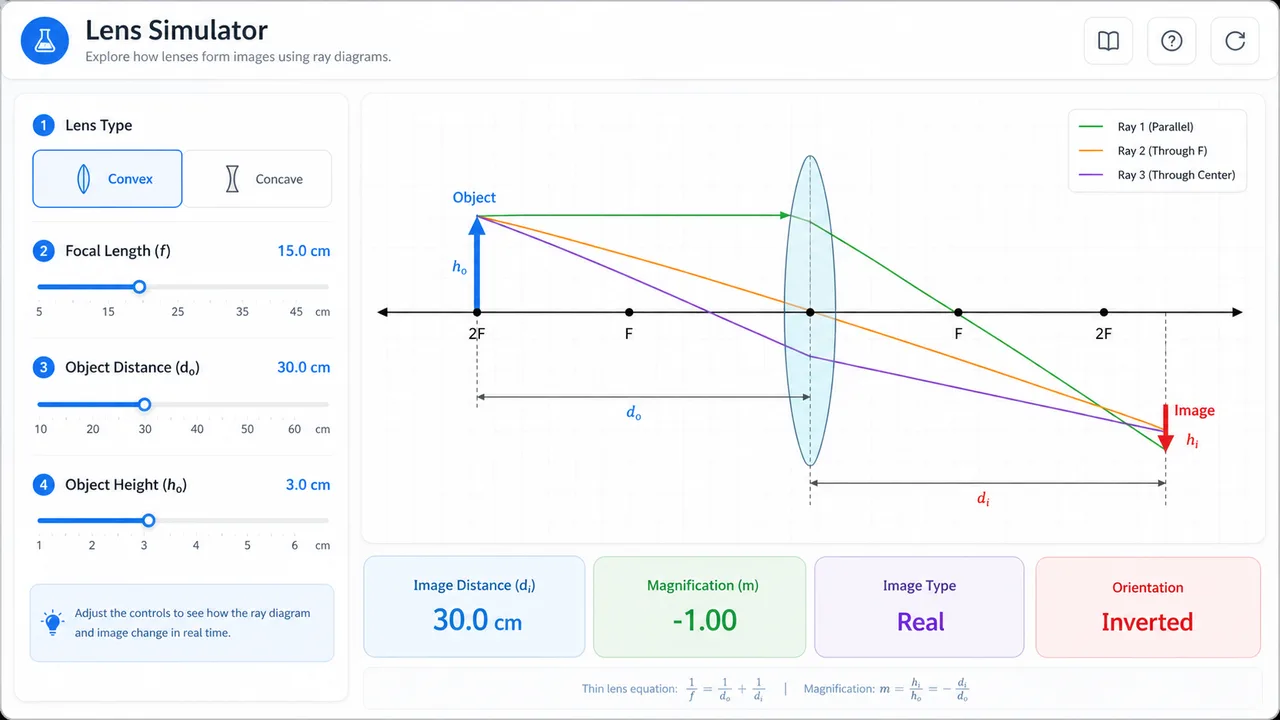
Move the object across the focal point in Lens Simulator to compare real and virtual images, upright and inverted images, and enlarged or reduced image size.
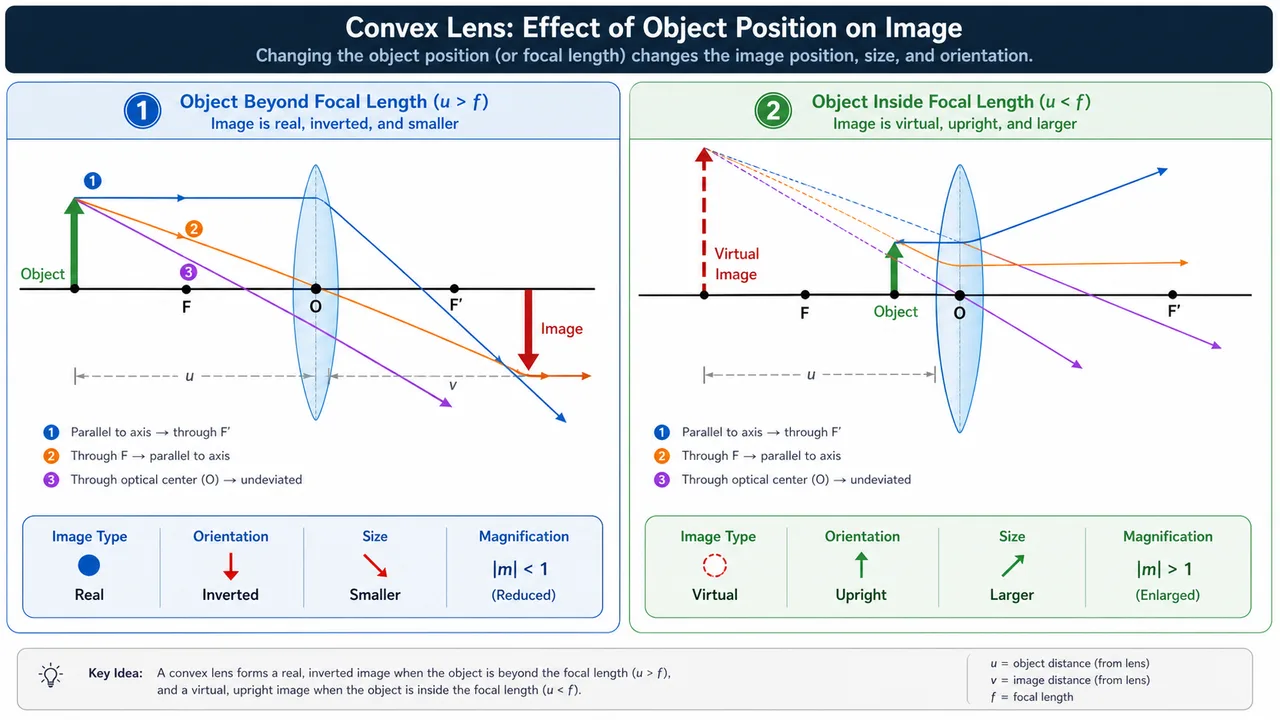
Use this Lens Simulator guide to turn the thin-lens equation and ray tracing rules into repeatable image-formation practice.
Choose convex or concave lens mode, then enter focal length, object distance, and object height.
Move the object or change focal length one step at a time. Lens Simulator updates the image distance, magnification, and ray diagram immediately.
Use the image distance sign, magnification sign, and image height to describe whether the image is real or virtual, upright or inverted, enlarged or reduced.
For homework, state the sign convention before interpreting the image type.
Read FAQThese Lens Simulator features make thin-lens image formation visible, adjustable, and easy to explain.
Switch between convex and concave lens setups without rebuilding the ray diagram.
Watch principal rays, focal points, object arrow, and image arrow update as inputs change.
Calculate image distance, magnification, and image height with sign-aware results.
See whether the image is upright or inverted from the sign of magnification.
Use positive or negative image distance to identify real and virtual images.
Copy a result link that restores lens type, focal length, object distance, and object height.
Lens Simulator helps learners connect formula signs, ray diagrams, and image descriptions instead of memorizing cases.
Practice thin-lens equation questions and check ray diagram intuition before quizzes.
StudyDemonstrate how object position and focal length change image location, size, and orientation.
ClassroomPreview real and virtual image cases before using optical benches or lenses in class.
Lab prepCompare convex and concave lens results with a fast browser-based ray diagram.
ReviewAfter Lens Simulator, try another free browser simulator for physics, science, school, math, or planning practice.
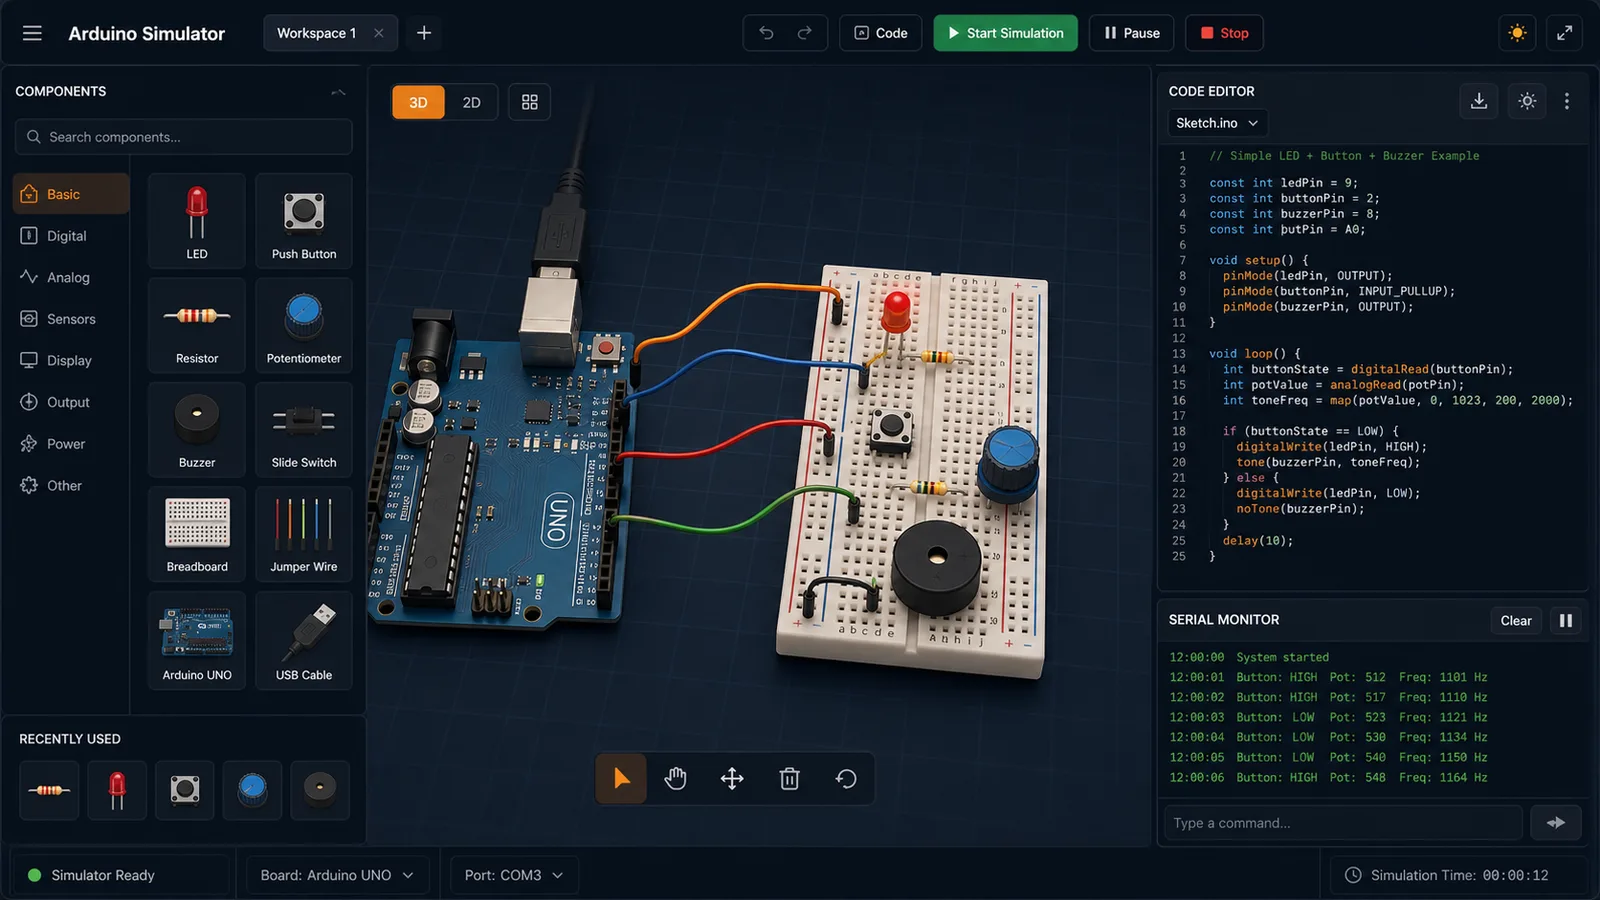
Drag LED, resistor, button, potentiometer, and buzzer parts into a browser circuit and run beginner Arduino sketches.
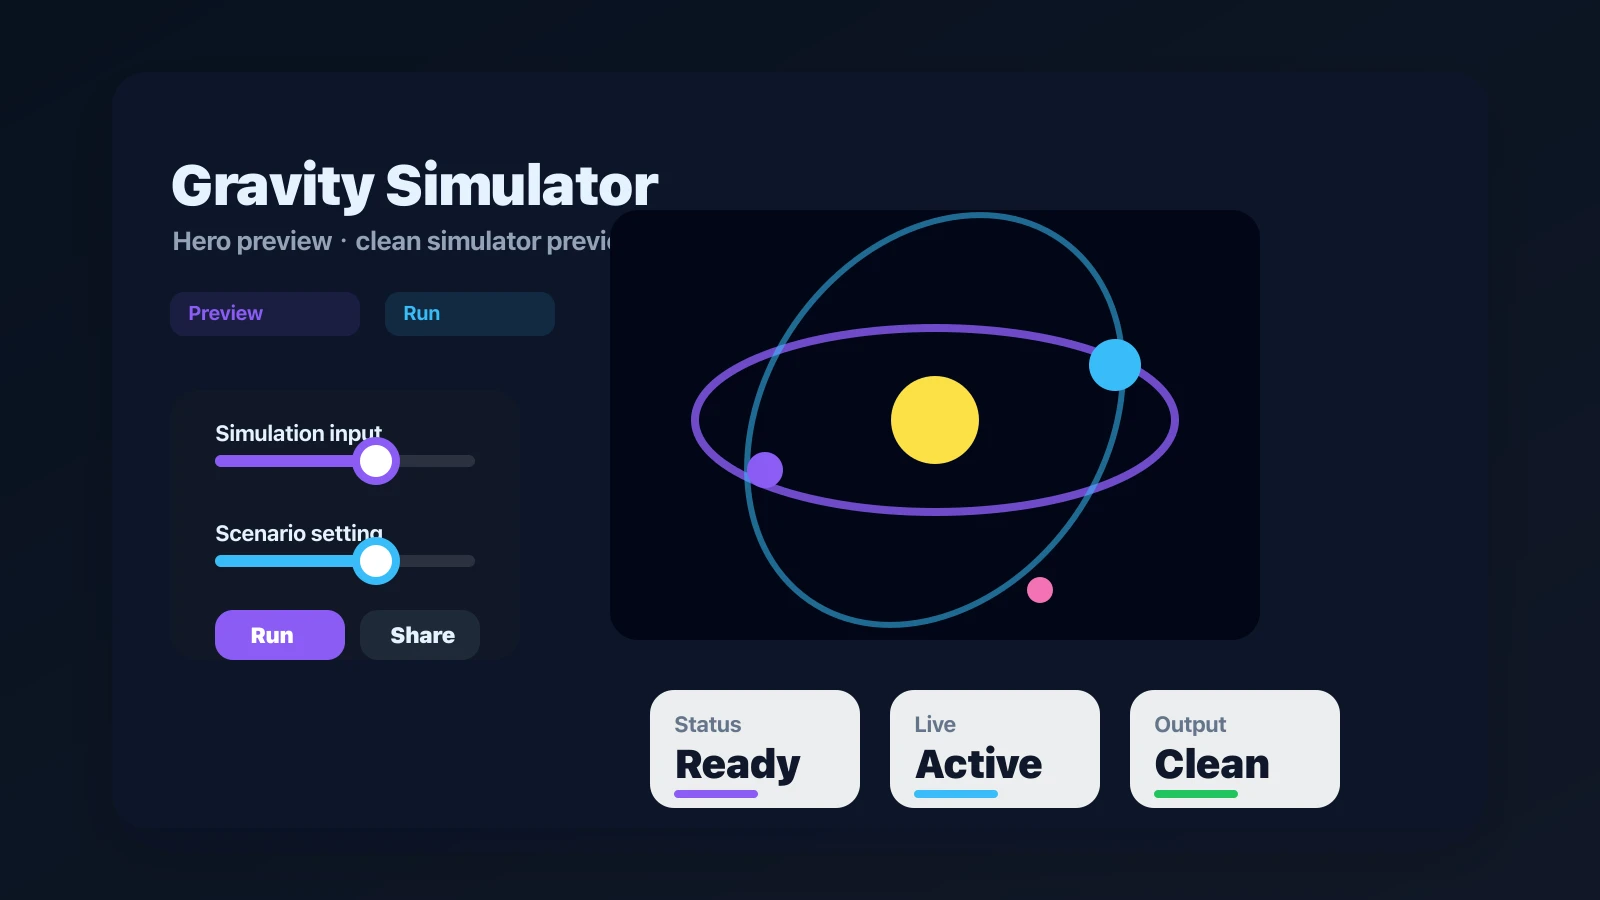
Drop planets, stars, and black holes into an N-body physics sandbox with shareable presets.
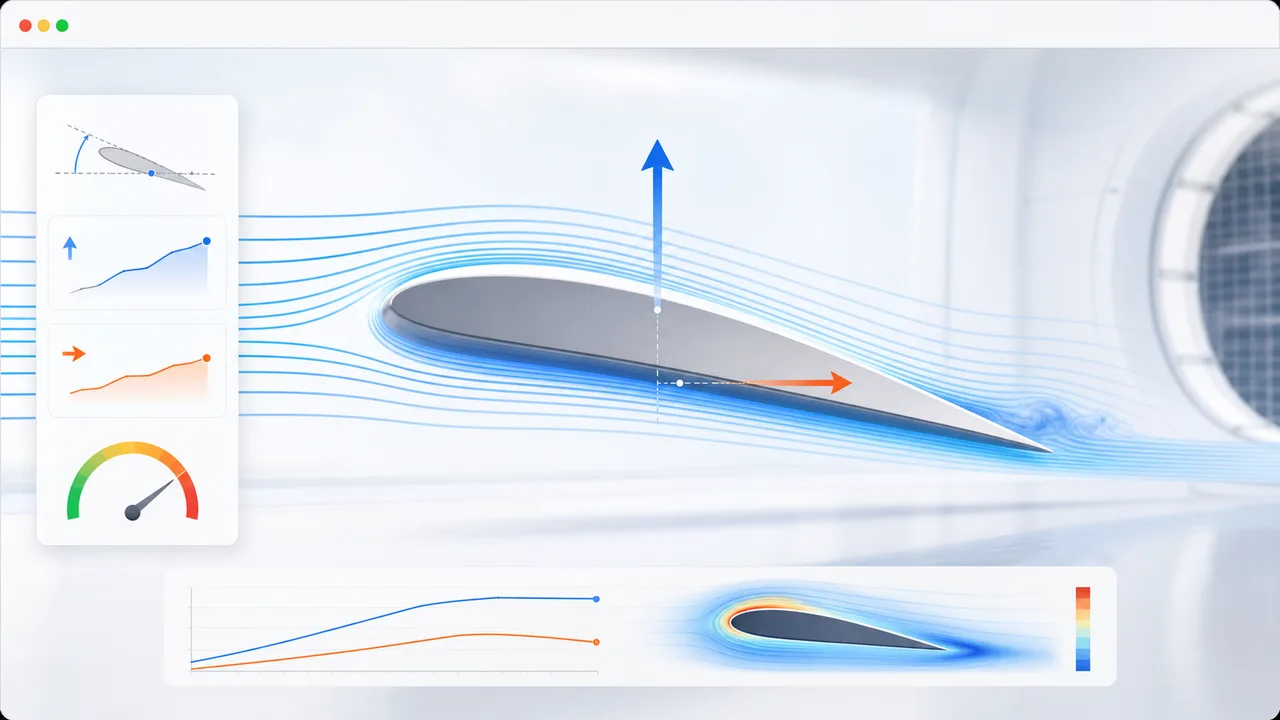
Set angle of attack, air speed, wing area, air density, and airfoil shape to estimate lift, drag, lift-to-drag ratio, and stall risk.
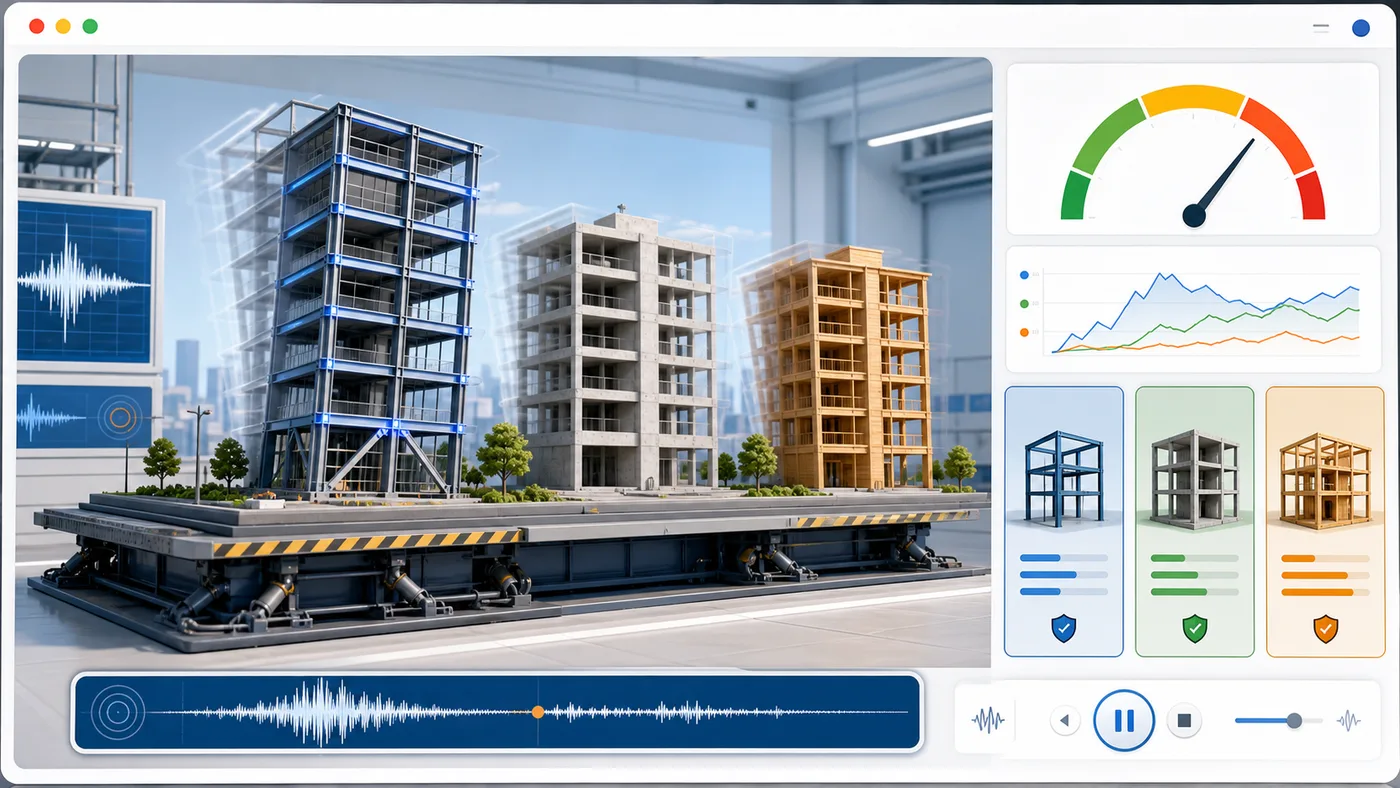
Enter building height, floors, material, structure type, earthquake magnitude, and foundation condition to animate sway and compare seismic risk.
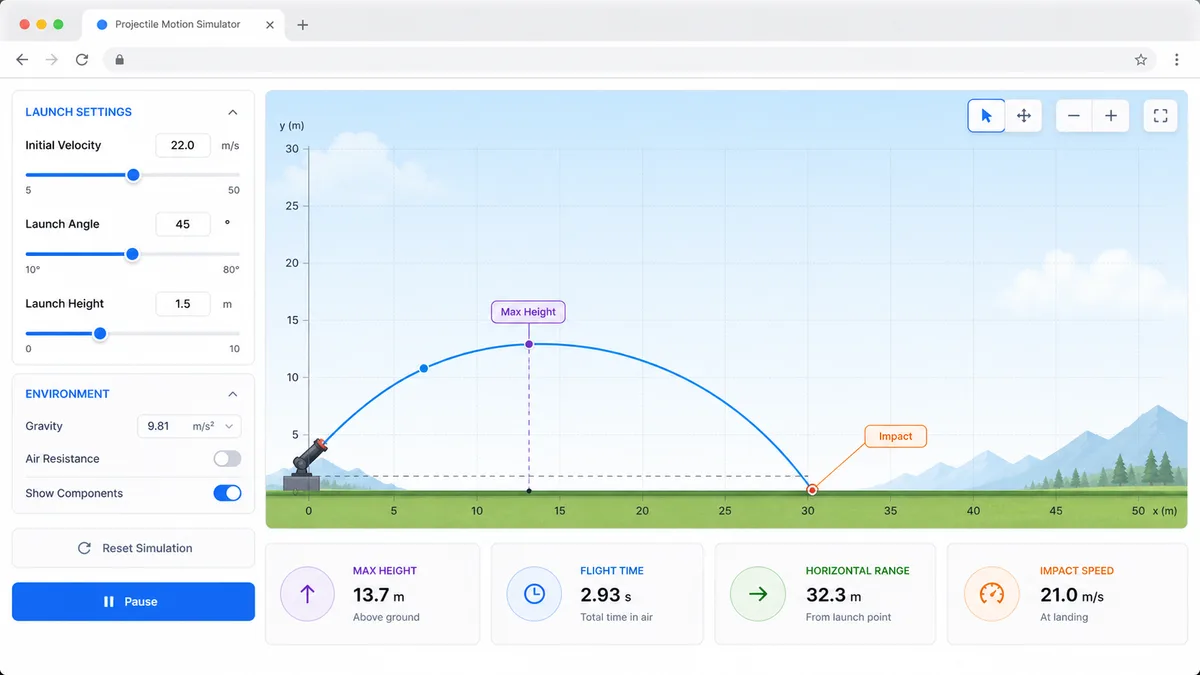
Set velocity, angle, height, gravity, and air resistance to compare projectile trajectories and live physics metrics.
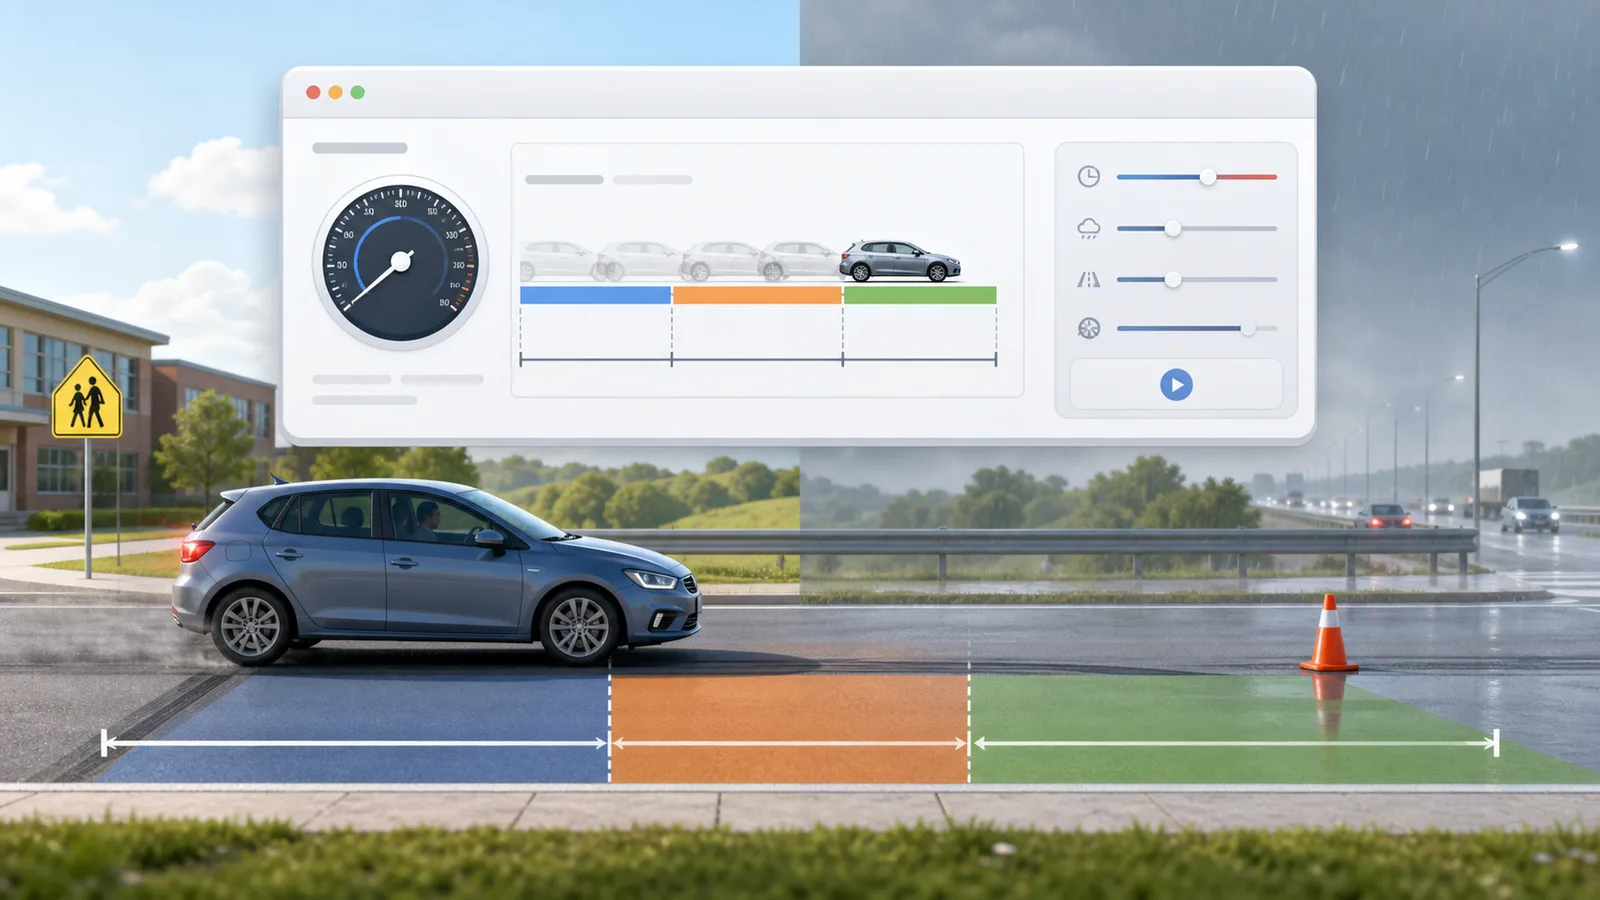
Enter speed, reaction time, weather, road surface, tires, and vehicle type to compare reaction, braking, and total stopping distance.
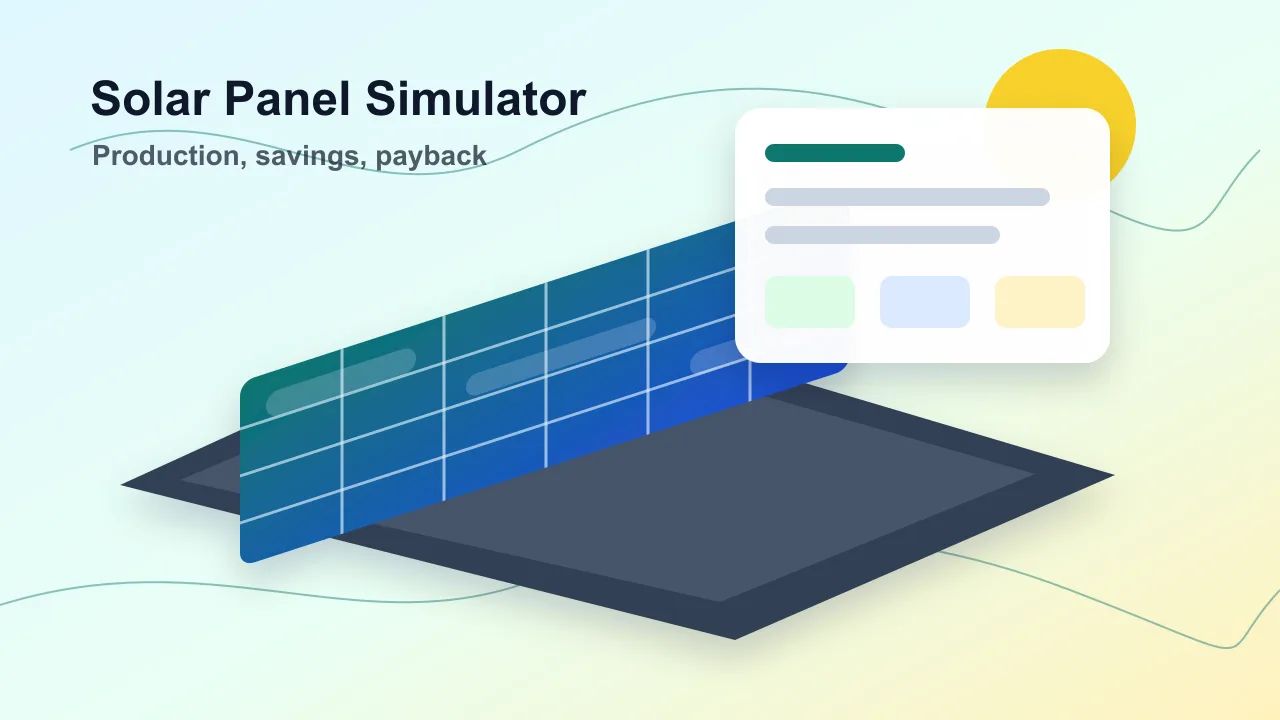
Enter location, roof area, panel count, wattage, orientation, tilt, shading, and electricity rate to estimate solar output, savings, and payback.
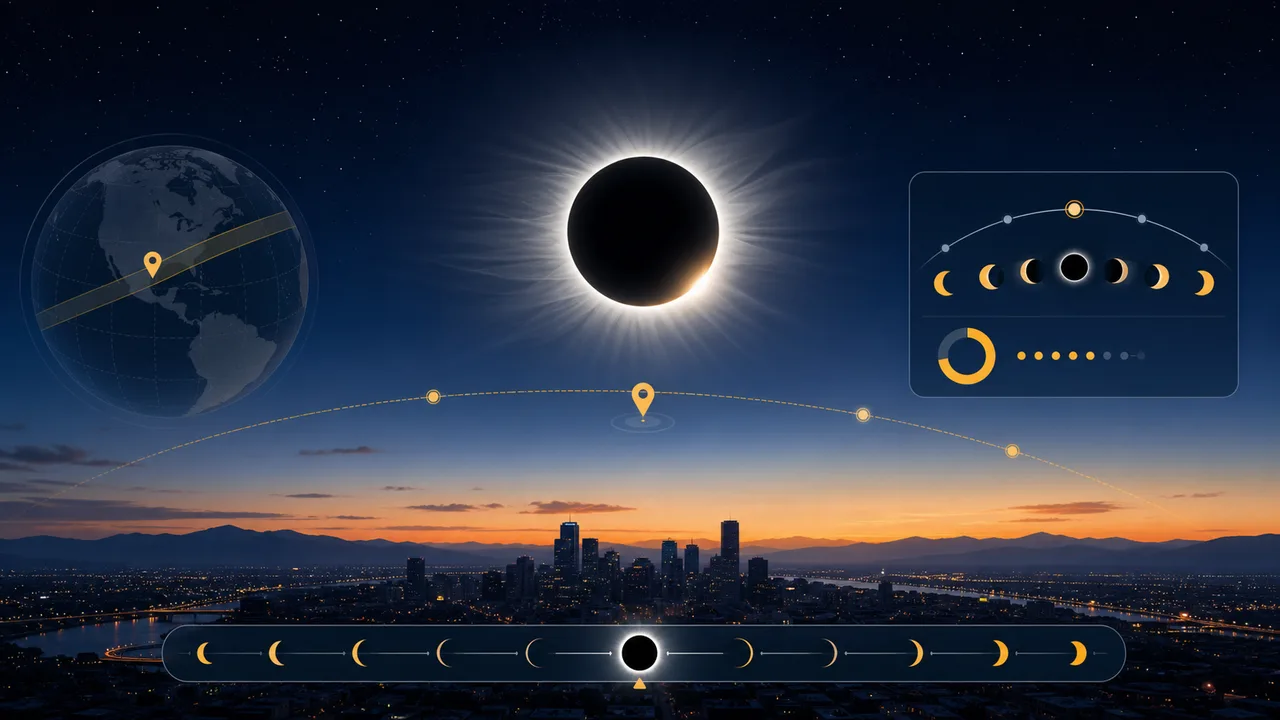
Enter a city or coordinates, choose an eclipse event, and estimate local visibility, timing, obscuration, and safety reminders.
Fast answers about Lens Simulator ray diagrams, thin-lens equation signs, image distance, magnification, orientation, and real or virtual images.
Yes. Lens Simulator runs in the browser and can be used without an account or installation.
Lens Simulator uses the thin-lens equation 1/f = 1/do + 1/di and magnification m = -di / do.
Lens Simulator marks the image as real when image distance is positive and virtual when image distance is negative under the lens sign convention.
Lens Simulator uses magnification: positive magnification means upright, and negative magnification means inverted.
Yes. Lens Simulator includes a concave lens mode with negative focal length, so learners can compare diverging lens behavior with convex lens cases.
Open Lens Simulator, choose a lens type, enter focal length, object distance, and object height, then watch the ray diagram change.
Use the live image distance, magnification, image height, orientation, and real or virtual image labels to explain the optical result.
Lens Simulator keeps shared results in an explicit copied URL only.