Article
Arduino Simulator Online: Build Your First LED, Button, and Buzzer Circuits
A beginner-friendly guide to using an online Arduino simulator for LED blink, button input, potentiometer dimming, buzzer output, and common wiring mistakes.
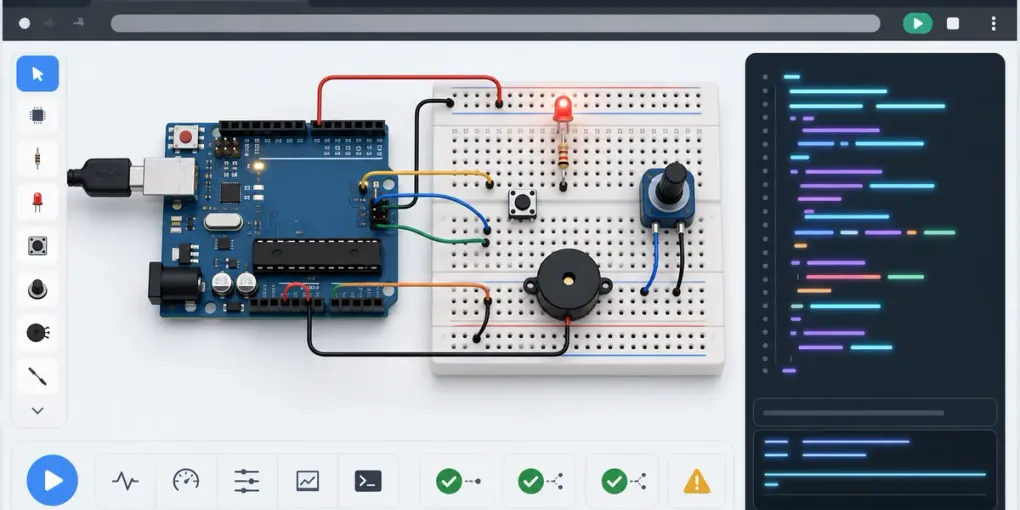
An online Arduino simulator is most useful before you buy parts, before you plug wires into a real board, or when your physical circuit is not working and you need a calmer way to debug the idea. The Arduino Simulator on FreeSimulators is built for that beginner stage: LED, resistor, pushbutton, potentiometer, buzzer, breadboard, and small example sketches.
This guide gives you a practical learning path instead of asking you to drag random parts onto the board.
Start With Blink
The first useful circuit is still the classic blinking LED. It teaches three ideas at once:
- A digital output pin can turn something on and off.
- An LED needs the correct direction.
- A resistor protects the LED and the circuit.
In the simulator, load the LED blink preset or build it manually. Then read the code line by line. Look for the pin number, the output mode, and the delay between on and off states.
If the LED does not light, check the same things you would check on a real breadboard: LED direction, resistor placement, and whether the selected pin matches the code.
Add a Button Next
After blink, move to a button-controlled LED. This introduces input. The key idea is that the Arduino reads a pin, then uses that reading to decide what to do.
Watch for two common beginner mistakes:
- The button legs may not be connected the way you think across the breadboard gap.
- The code may read one pin while the wire is connected to another.
The simulator’s value here is speed. You can try a wiring change, run it, and inspect the result without worrying about damaging parts.
Try a Potentiometer for Analog Input
A potentiometer teaches a different kind of signal. Instead of just on or off, it gives a range of values. Use it to dim an LED or control a changing output.
When you adjust the knob, connect what you see in the circuit to what the code is doing. The important lesson is not the exact number; it is the idea that an analog reading can be mapped into visible behavior.
Add a Buzzer for Output Feedback
A buzzer is useful because it makes output obvious. If the circuit is wired correctly, you get immediate feedback. If not, it stays silent, which pushes you to check the pin, ground, and code.
Button-plus-buzzer is a good small project: press the button, play a tone; release it, stop the tone. It combines input, output, and conditional logic without becoming overwhelming.
Use the Code Explanation, Not Just the Circuit
Many beginners focus only on the wires, but Arduino learning is half wiring and half code. After running a preset, read the explanation and identify three things:
- Which pins are inputs?
- Which pins are outputs?
- What condition changes the result?
If you can answer those three questions, you understand the circuit better than someone who only copied it.
Common Problems to Check First
Before assuming the simulator is wrong, check these basics:
- The code pin number matches the connected wire.
- Ground is connected where the circuit expects it.
- The LED is oriented correctly.
- The resistor is in the current path, not just nearby.
- The button is placed across the correct breadboard gap.
These are the same mistakes that happen with real Arduino kits, so learning to spot them in the simulator saves time later.
When to Move to Real Hardware
Move to real hardware when you can explain your circuit in plain language: what goes in, what the Arduino reads, what comes out, and what the code decides. The simulator will not teach wire stiffness, loose jumpers, or real component tolerances, but it is excellent for understanding the logic before the messier physical version.
For related learning, try the Logic Gate Simulator if you want digital logic, or the Ohm’s Law Lab Simulator if voltage, current, and resistance still feel fuzzy.